Looking to save money while giving your pet the best? Check out these DIY Projects for Building Your Own Pet Furniture. Customize to your pet’s needs today!
As pet owners, we all want to give our furry friends the best. However, buying pet furniture can be expensive, and the options available in stores may not meet our pets’ specific needs. That’s where DIY pet furniture comes in. Building your own pet furniture is not only cost-effective but also allows you to customize the design to suit your pet’s preferences and requirements. In this article, we will explore the benefits of DIY pet furniture and provide step-by-step instructions for some of the most popular projects.
Benefits of DIY Pet Furniture
Cost-effective
One of the main advantages of building your own pet furniture is the cost savings. Store-bought pet furniture can be expensive, and the quality may not always be up to par. By building your own, you can use high-quality materials that will last longer and save money in the long run.
Customizable to your pet’s needs
Every pet has unique needs and preferences, and store-bought furniture may not always meet those needs. With DIY pet furniture, you can customize the design and size to suit your pet perfectly. For example, if you have a large dog, you can build a bed that can accommodate their size and weight.
High-quality materials can be used
When building your own pet furniture, you have control over the materials used. You can choose high-quality materials that are durable and safe for your pet. This is especially important if your pet has allergies or sensitivities.
A sense of satisfaction from building it yourself
Building your own pet furniture can be a rewarding experience. Not only will you save money, but you will also have the satisfaction of knowing that you built something that your pet will enjoy. Plus, DIY projects can be a fun and creative way to spend time with your furry friend.
Tools and Materials Needed
Before starting any DIY project, it’s essential to have the right tools and materials. Here is a list of tools and materials you’ll need for most DIY pet furniture projects:
Tools
- Saw
- Drill
- Sandpaper
- Measuring tape
- Screwdriver
- Paintbrush
Materials
- Wood boards (depending on the project)
- Wood glue
- Screws
- Nails
- Stain or paint (depending on the project)
Having the right tools and materials will make the process of building your own pet furniture easier and more enjoyable. In the next section, we’ll provide step-by-step instructions for some popular DIY pet furniture projects.
Tools and Materials Needed
The tools and materials you’ll need for DIY pet furniture will vary depending on the project. Here’s a list of some common tools and materials you may need:
Tools
- Circular saw or handsaw
- Drill
- Jigsaw
- Sandpaper or sanding block
- Measuring tape
- Screwdriver
- Paintbrush
Materials
- Wood boards
- Plywood
- Carpet or sisal rope
- Screws
- Nails
- Wood glue
- Stain or paint
Where you purchase your materials will depend on your location and the availability of resources. Hardware stores, home improvement stores, and online retailers are all good places to start. Look for high-quality materials that are safe for your pet and will last a long time.
DIY Projects for Building Your Own Pet Furniture
There are many DIY pet furniture projects you can undertake, and we’ve selected some of the most popular ones to get you started. Here are step-by-step instructions for some of these projects:
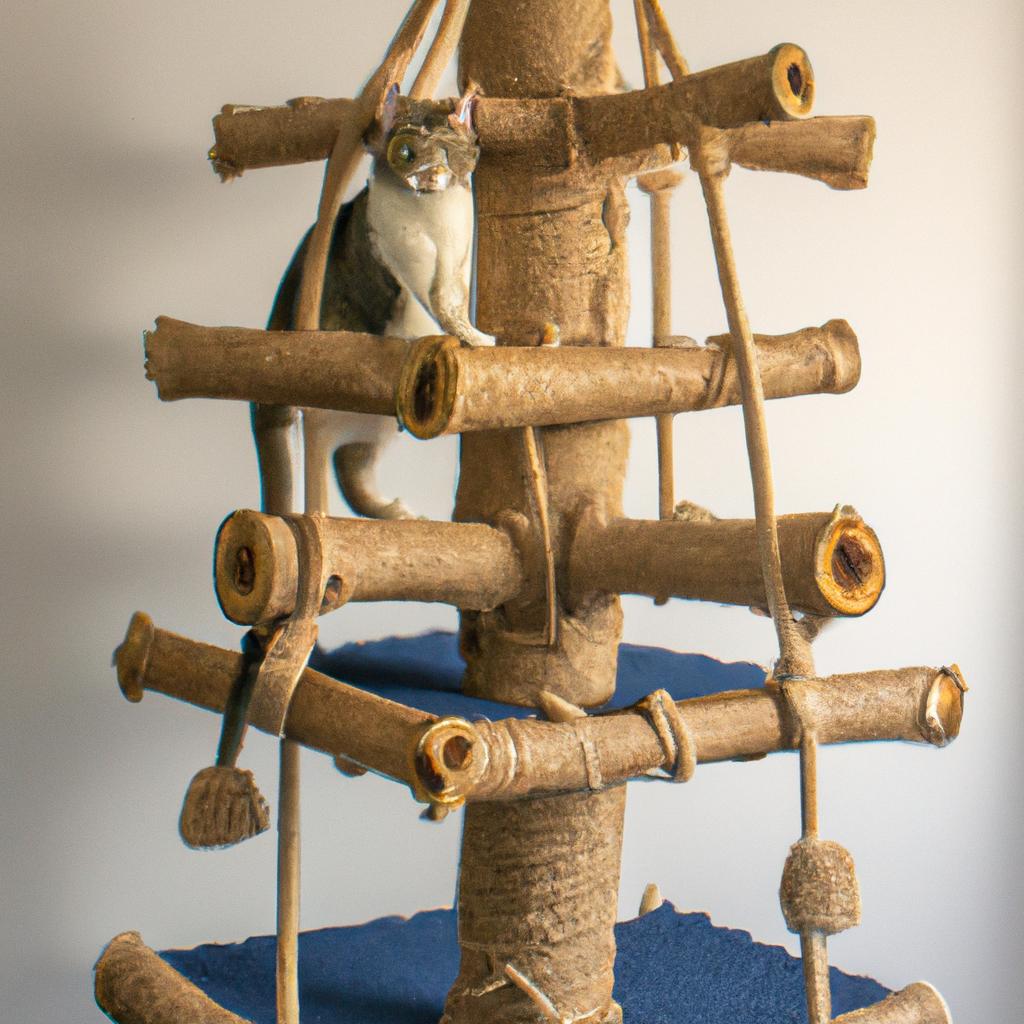
Building a Cat Tree
A cat tree is a great way to keep your feline friend entertained and comfortable. Here’s how to build one:
- Cut three or four wooden boards to the desired height and width of the cat tree. Sand the edges to prevent splinters.
- Attach the boards together using screws, ensuring they’re securely fastened.
- Cover the boards with carpet or sisal rope using a staple gun.
- Add platforms or perches to the tree using plywood and attach them with screws.
- Attach a soft cushion or bed to the top perch of the cat tree.
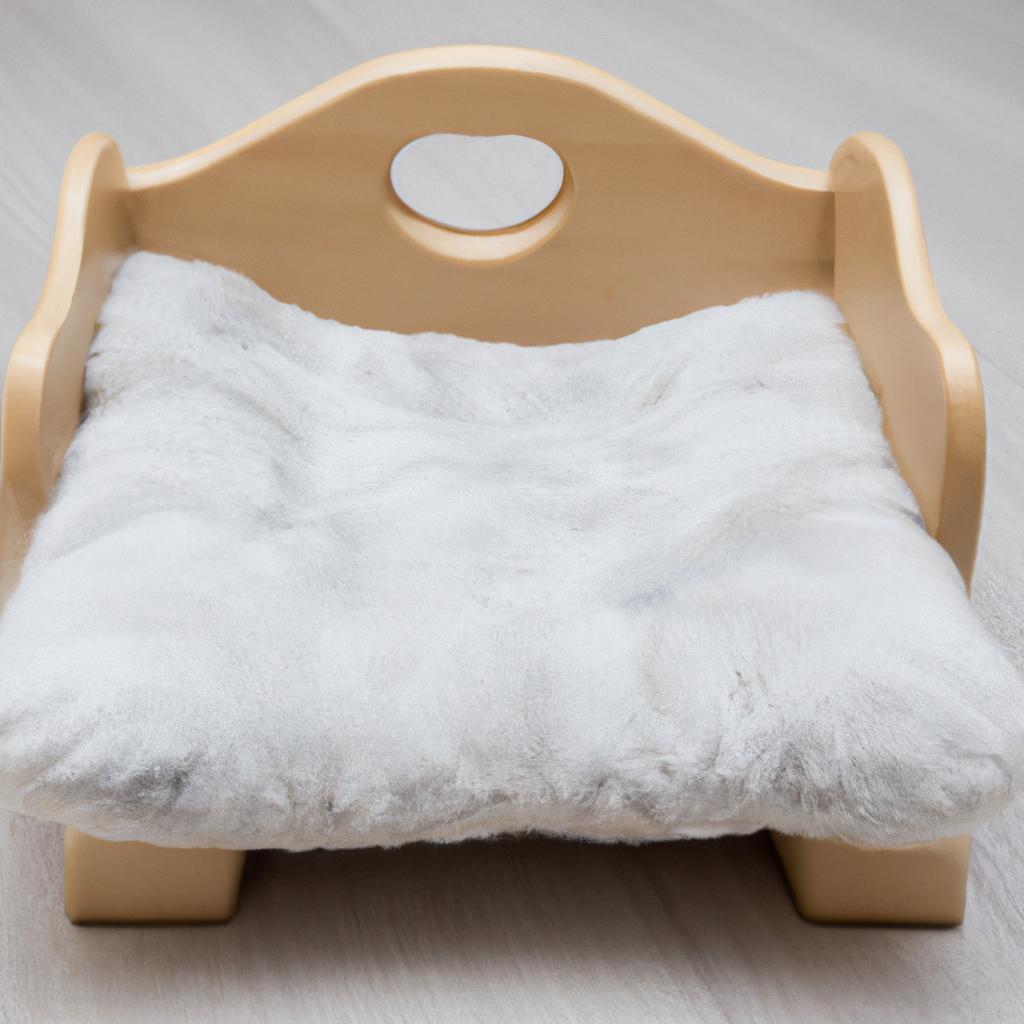
Building a Dog Bed
A dog bed is a cozy place for your furry friend to rest. Here’s how to build one:
- Cut four wooden boards to the desired size of the dog bed. Sand the edges to prevent splinters.
- Attach the boards together using screws, ensuring they’re securely fastened.
- Cut a piece of foam to fit the bed. You can use an old mattress or purchase foam online.
- Cover the foam with a soft and durable fabric, such as canvas or denim, and attach it to the bed using a staple gun.
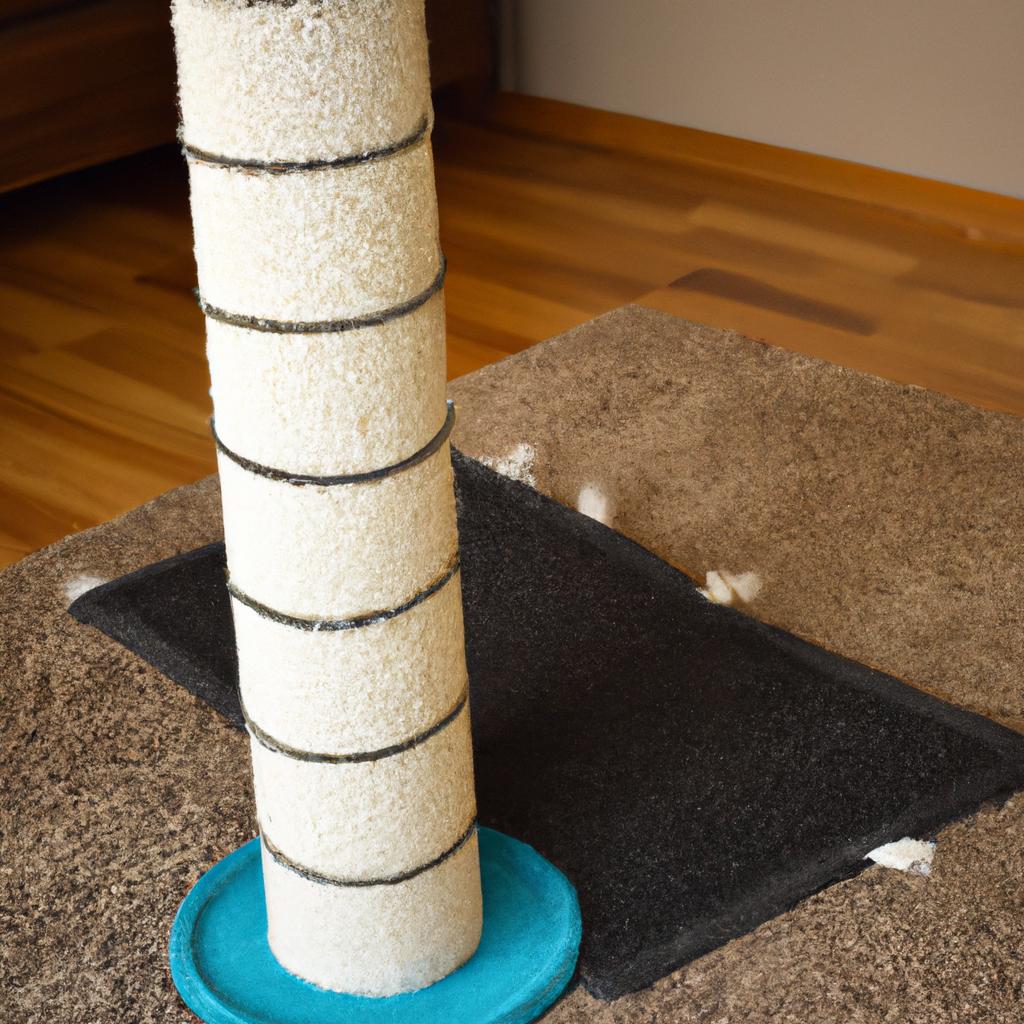
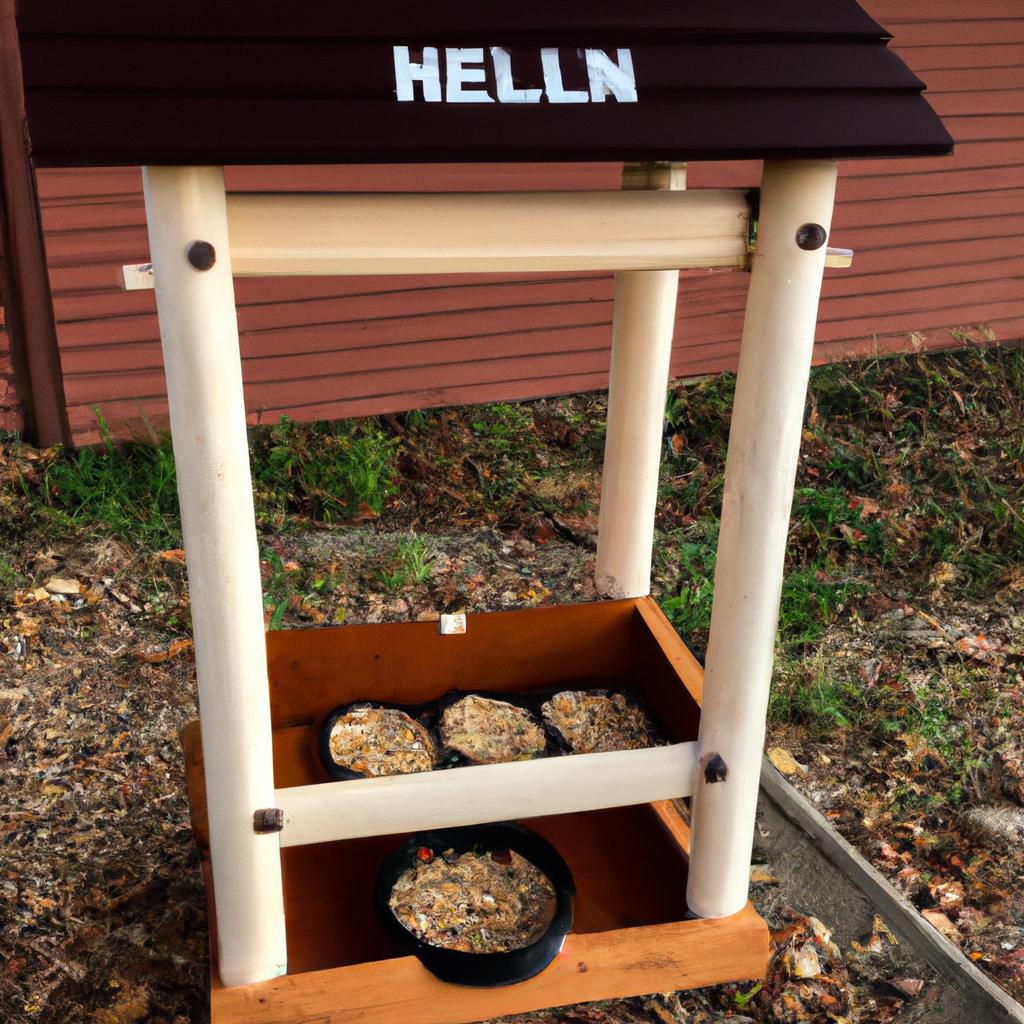
These are just two examples of DIY pet furniture projects you can undertake. Other projects include building a scratching post for your cat, building a pet feeder station, and building a pet ramp or stairs. With a little creativity and some basic tools, you can create custom furniture that your pet will love.
Tips for Success
Building your own pet furniture can be a fun and rewarding experience, but it’s important to take the necessary precautions and follow some tips for success. Here are some tips to keep in mind:
Safety precautions when using power tools
When working with power tools, it’s essential to take safety precautions to avoid accidents. Be sure to wear protective gear such as safety glasses and gloves, and always follow the manufacturer’s instructions. It’s also a good idea to keep the workspace clean and organized to avoid tripping hazards.
How to measure and cut materials accurately
Accurate measurements are crucial when building pet furniture. Use a measuring tape to ensure that the dimensions are correct before making any cuts. When cutting materials, be sure to use a saw that is appropriate for the type of material you’re working with. Take your time and make slow, deliberate cuts to ensure accuracy.
Staining or painting the finished product
Once you’ve completed your DIY pet furniture project, you may want to stain or paint the finished product. Before doing so, be sure to sand the surface to ensure that the stain or paint adheres properly. Use a paintbrush or roller to apply the stain or paint evenly, and allow sufficient time for drying between coats.
How to make adjustments for different-sized pets
If you have multiple pets of different sizes, you may need to make adjustments to your DIY pet furniture to accommodate them. For example, you can build a dog bed with adjustable legs to raise or lower the height, depending on the size of the dog. Or, you can add or remove shelves to a cat tree to make it suitable for different-sized cats.
Conclusion
In conclusion, building your own pet furniture is a cost-effective and customizable way to provide your furry friends with comfortable and safe furniture. By following the tips and instructions provided in this article, you can create high-quality pet furniture that meets your pet’s unique needs and preferences. Whether you’re a seasoned DIYer or a beginner, we encourage you to give it a try. Your pet will thank you, and you’ll have the satisfaction of knowing that you built something with your own two hands. So, why not start your next DIY pet furniture project today?
Learn more about DIY pet furniture on TooLacks.